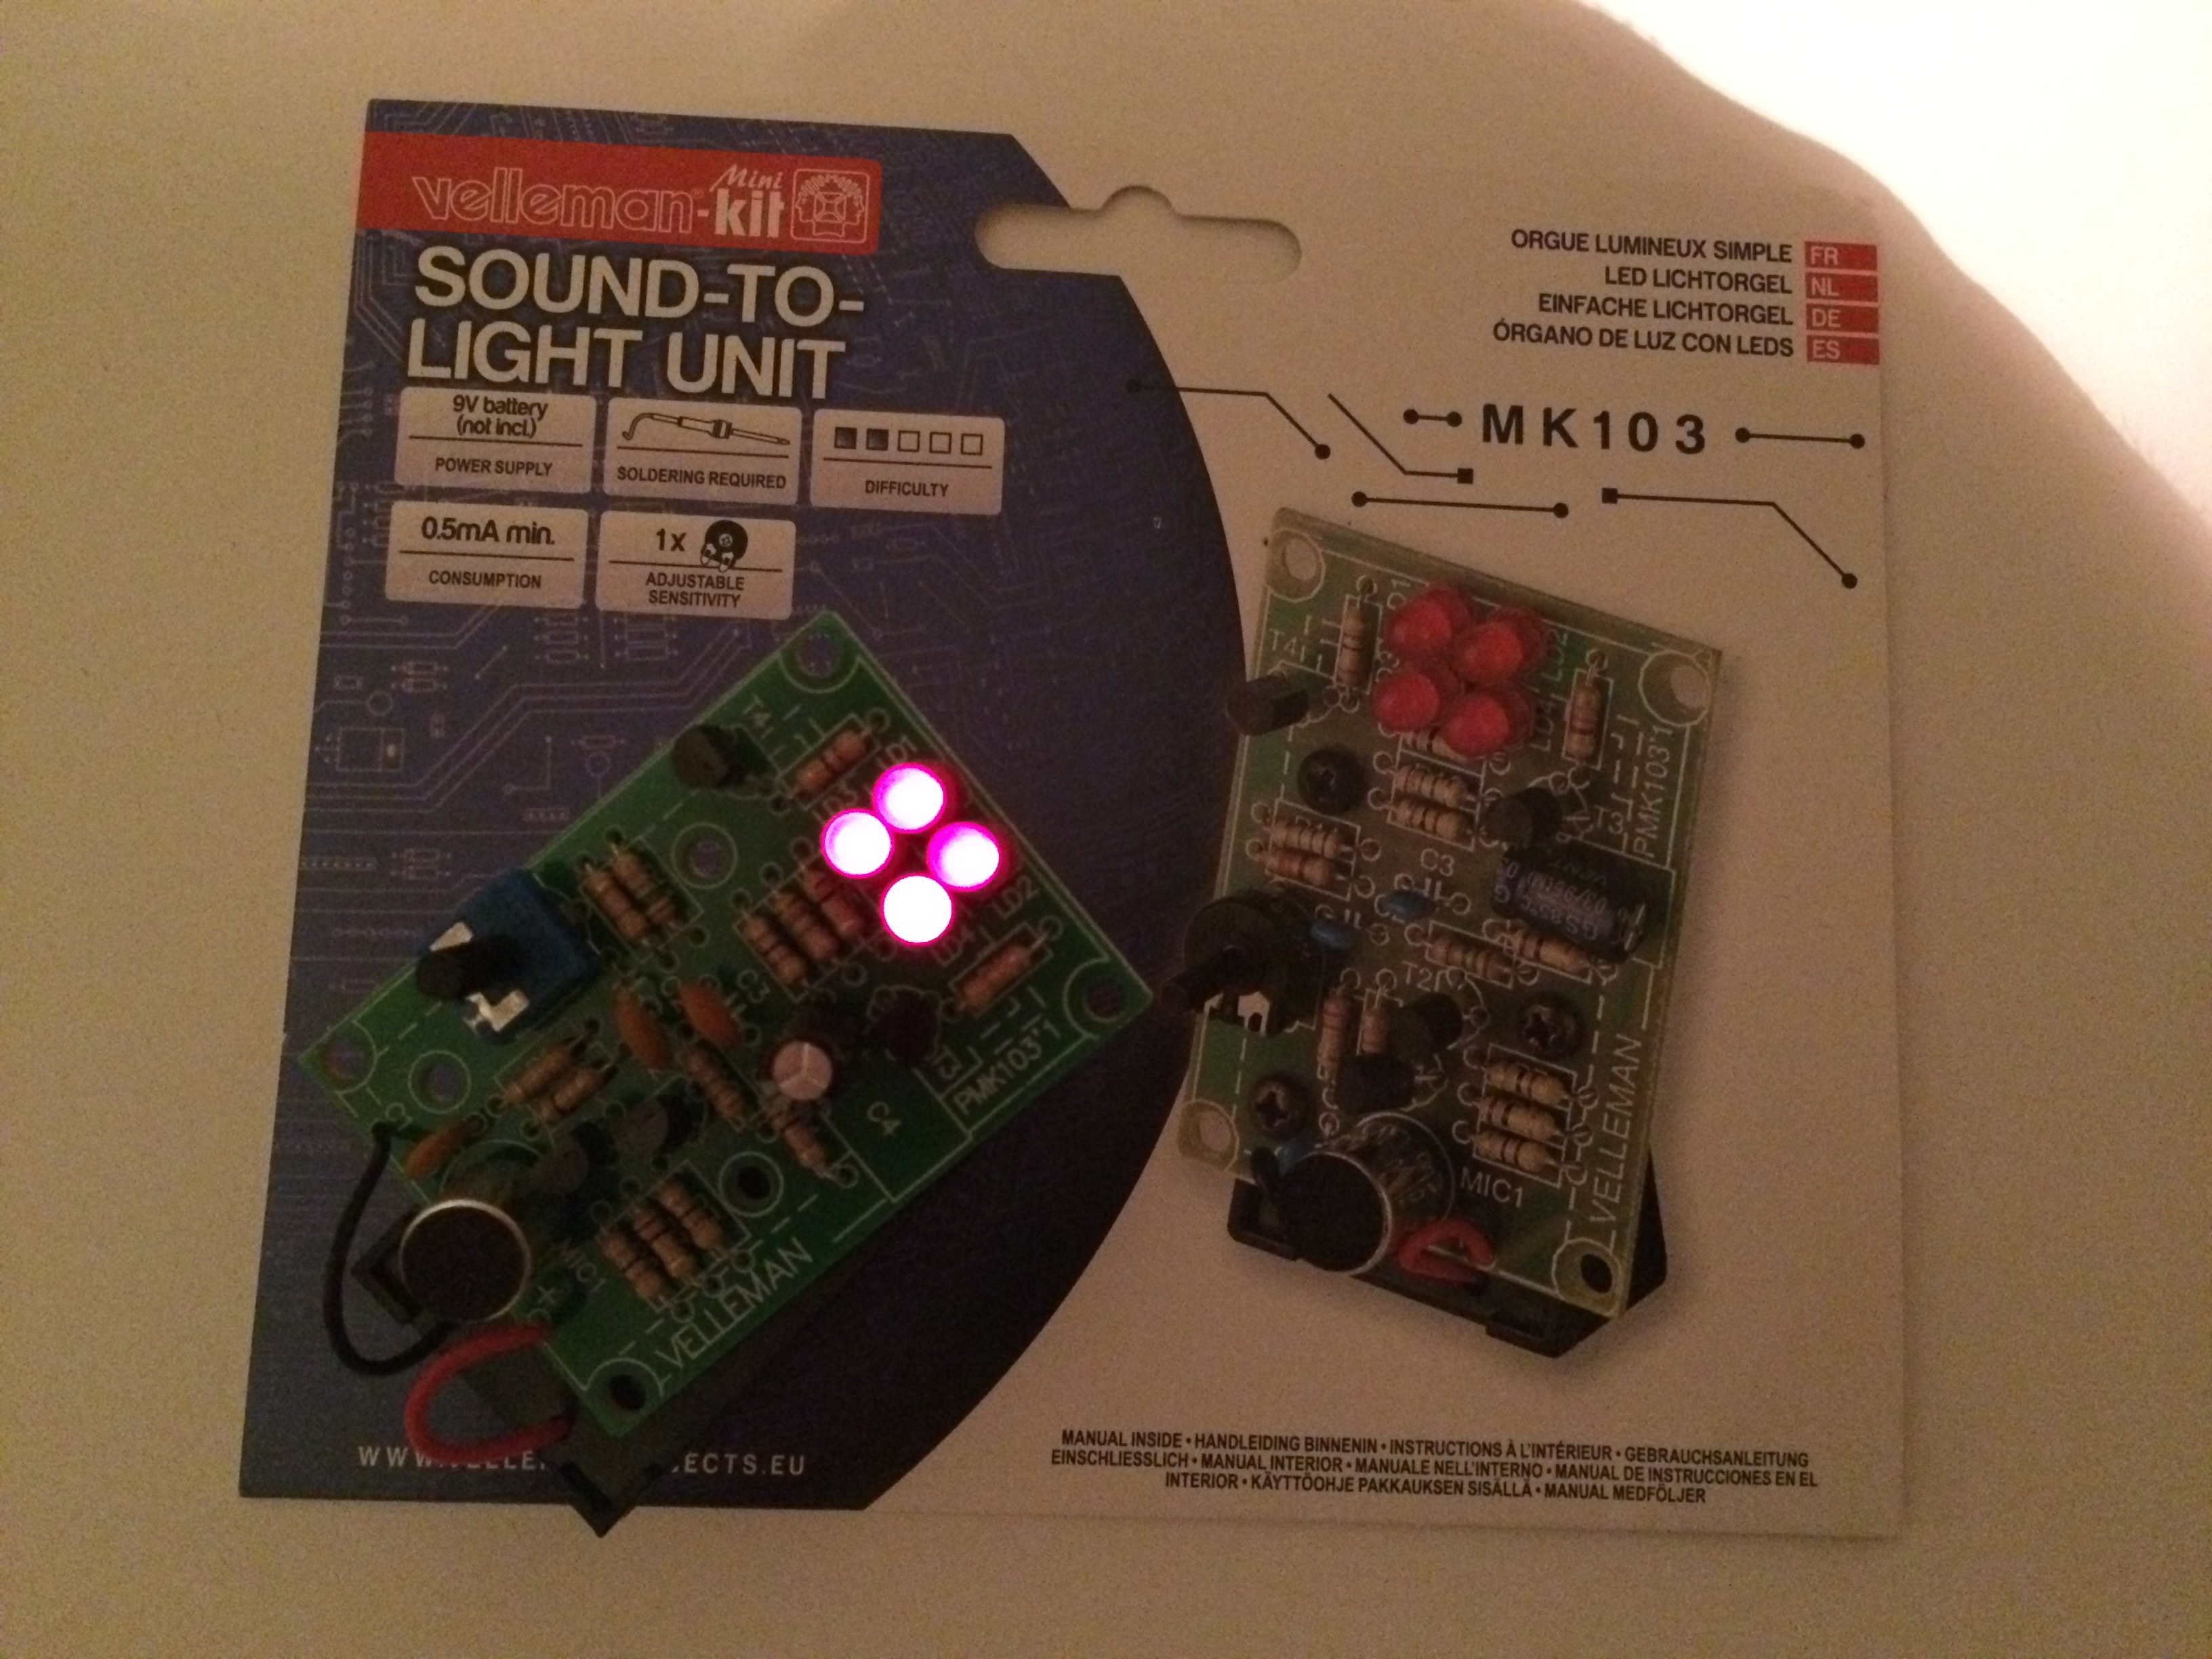
I finished the Velleman kit that I got to practice soldering. Four LED's are supposed to lights up when a microphone picks up sound. Sensitivity can be controlled via a knob! Suprisingly it worked flawlessy once I connected the battery. I guess that means it was forgiving!
I don't understand how it works - I priortizied learning soldering - but I will try later. It has some components I'm not that familiar with (capacitors, transitors, ...) that I should learn but I'll continue understanding resistors and ohm's law first...!
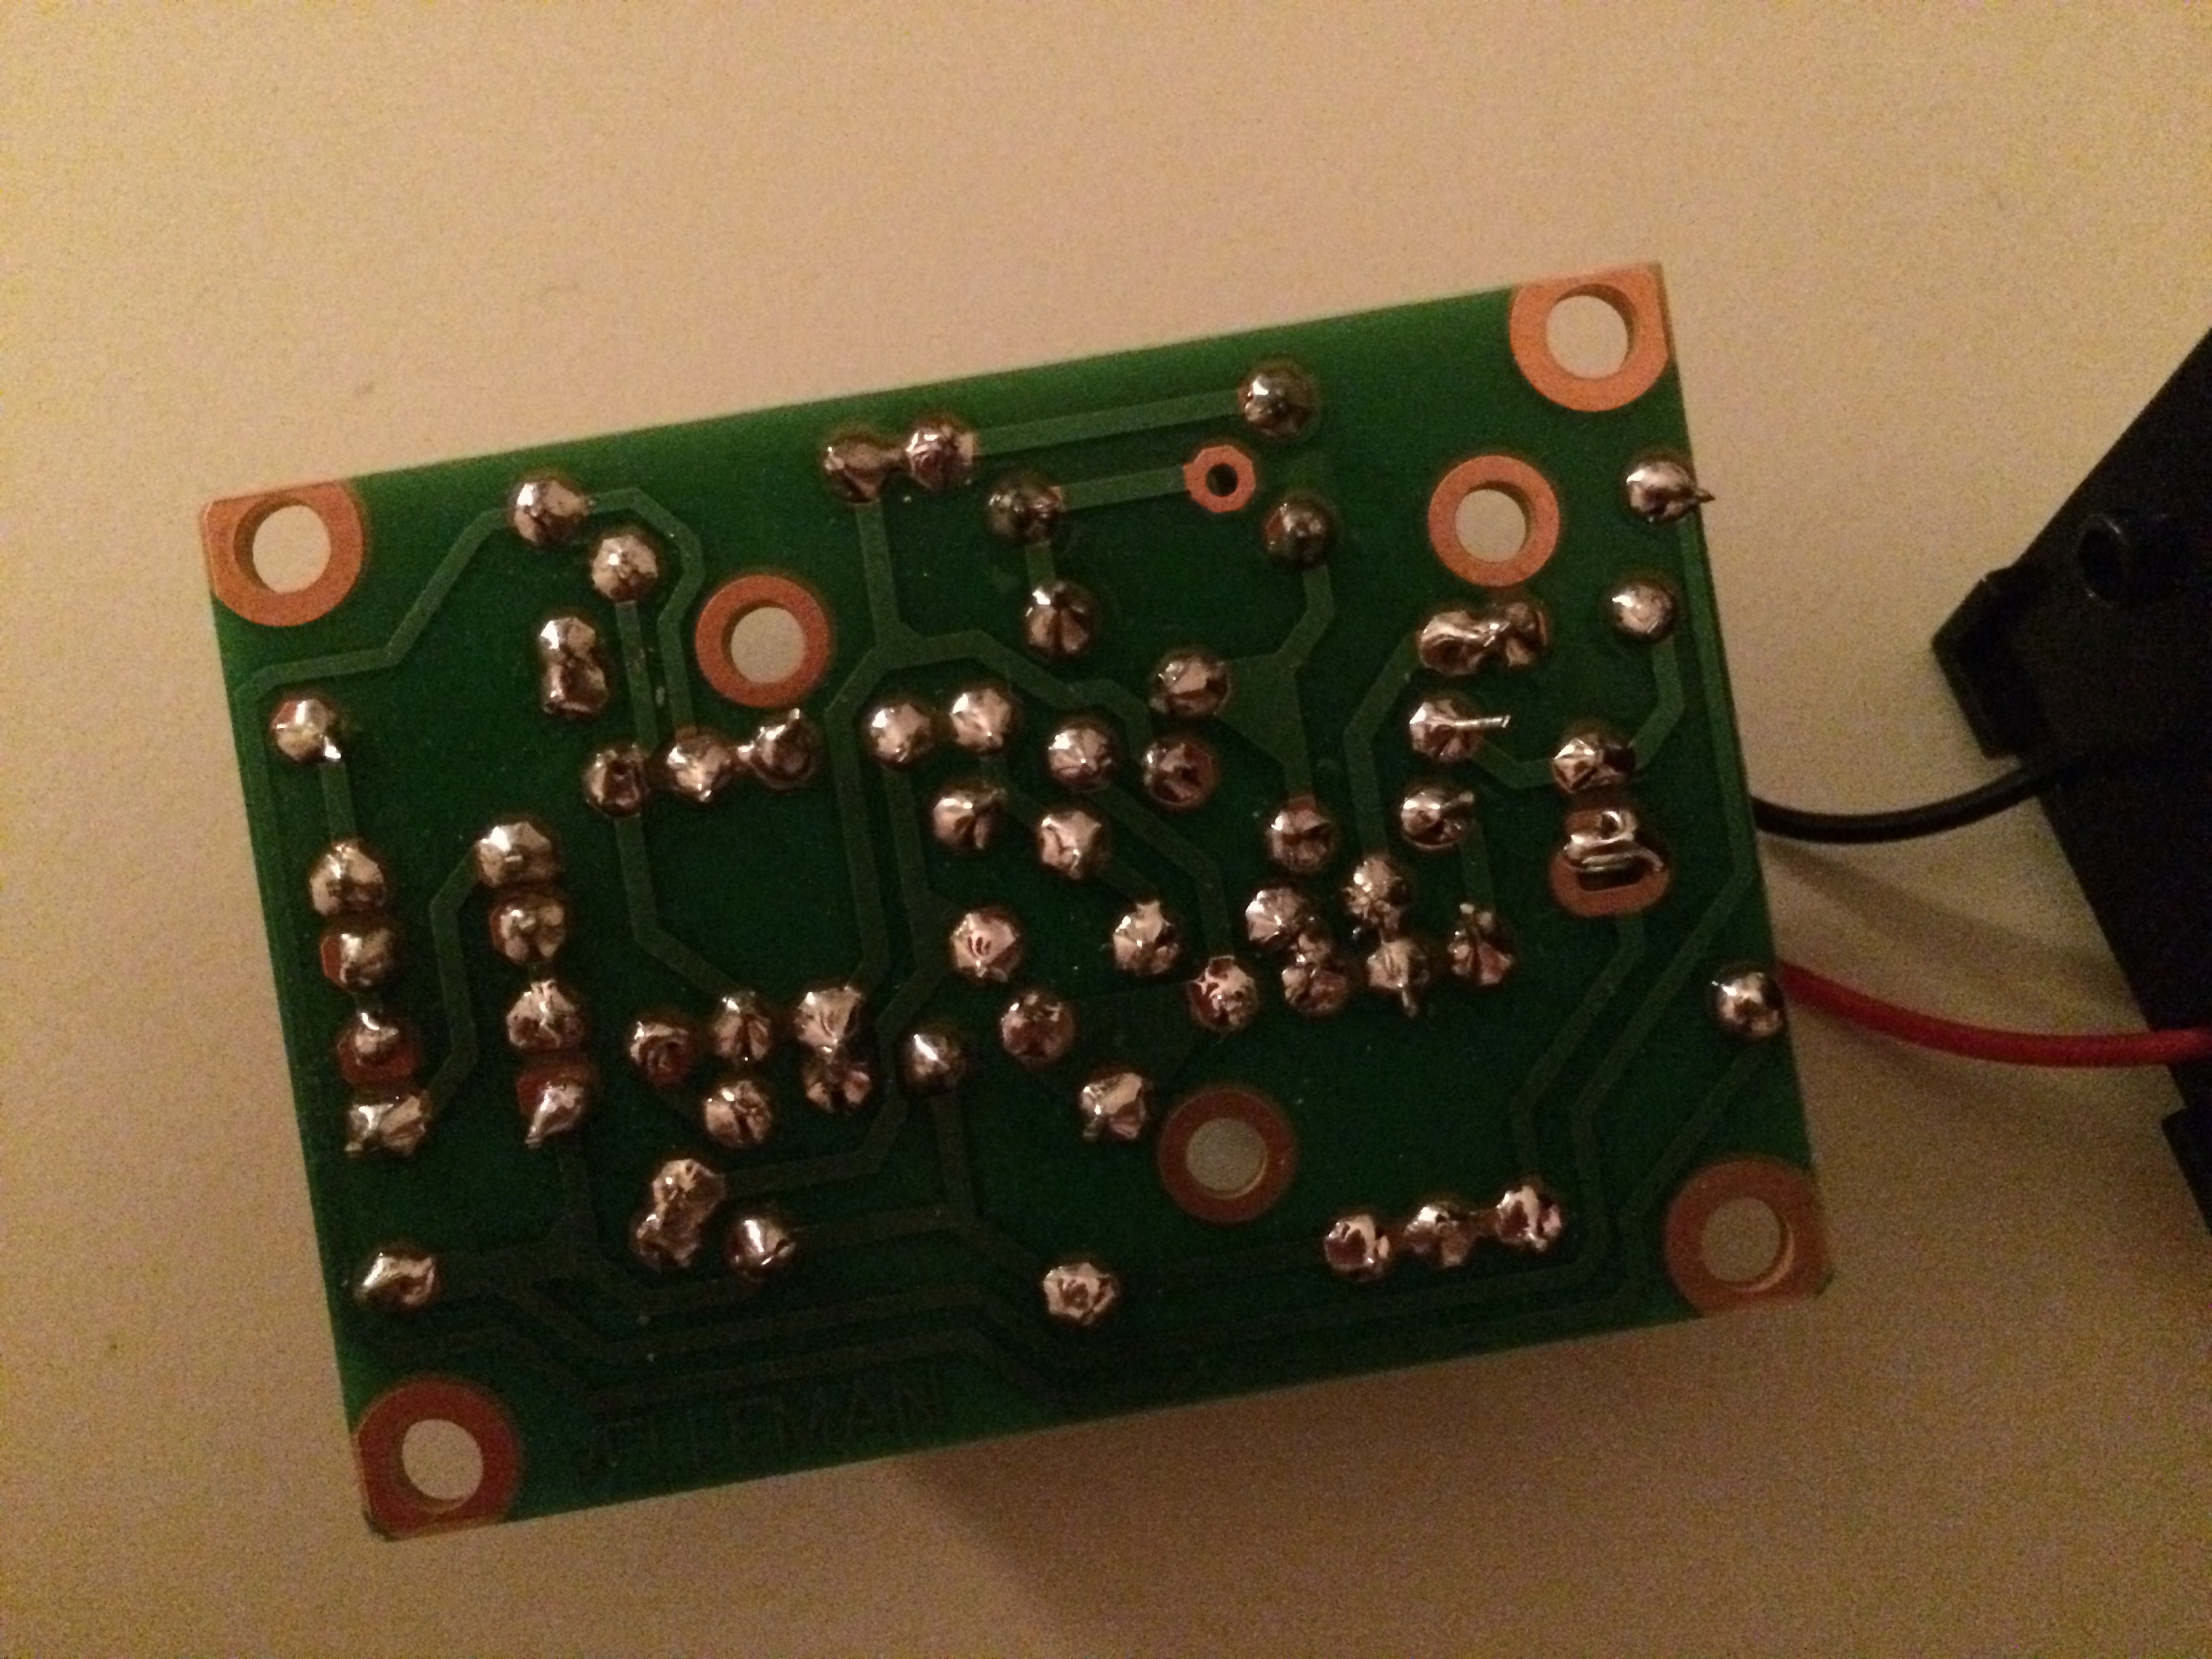
I made one mistake. There was 4 transitors and I didn't noticed that one was different so two were in the wrong place. I had to de-solder which was a good experience. I used a “tennsug” (the swedish word, perhaps the english name is “tinsuck”) that sucks up the tin. I'm not sure I liked it. There is another device (some sort of net) that I think is more userfriendly. I also had to de-solder one capacitor and then move it sideways because things got crowded up top!
Summary
- If you are going to make mistakes, leave at least part of the “legs” on. It is tempting to cut them all quite short once soldered to make it less confusing on the underside, but if you have to de-solder and move them it is nice to have some leg-room. Ha-ha.
- I got a hint to heat up the component+connection point, not the tin. I tried it both way and heating up the tin worked very well when I just wanted to get to finish, but the result was not as good.
- Some connection points were merged via tin. Happily they were supposed to be connected anyway, but it was hard to tell after the fact since the instructions had no image of the PCB underside (without the components). Once they were tin coverred I could not see if there was a connection or not. I could often deduce it from the circuit diagram but once I felt lost!
- The image from the instructions had some components different (capacitors, trimmer). The included capacitors/trimmer had different physical size so I had to skew one capacitor sideways to make room.
- Quite large for first project, but I finished it in three sittings! 14 resistors, 4 LED, 4 transistors, 3+1 capactitators, 1 trimmer, 1 microphone and then the 9V-battery. Two soldering points (3 for transistors) per component. If it hadn't worked when I hooked up the battery I'm not sure how I would have “debugged” it. Luckily it did not come to that!
- People who are good at coctail parties would make good solders. Navigating coctail parties also requires three hands!
Images
Proof that is is working!
And the other side where I did all the dirty soldering...
Success!