In order to do the Super Famicom Wars (SFW) translation we had to start by figuring out how (parts of) the game worked. Once this was underway an equally hard task was to modify the game. But understanding came first. snestistics was a key part of this process, and lots of functionality was added to the tool as we went along. Here is a detailed history on snestistics with discussion on why it works like it does.
In this tutorial series we will simply show what you can do with snestistics and not compare it to other tools and approaches. When we started SFW snestistics was not very mature at all. A lot of tedious tasks had to be done by hand and writing a straightforward tutorial like this would not be possible!
We assume that if you actually want to understand the code presented here in depth you will know some 65816 assembly and have a high-level understanding of the SNES. Martin Korth’s fullsnes document is a great reference on all parts that make the Super Nintendo tick. Also make sure to check out Retro Game Mechanics Explained for a wonderful video series on how all SNES graphics rendering work.
The Game
The game we are going to take a closer look at is Battle Pinball, a spin-off game in the Compati Hero Series only released in Japan.
While not sure if we’ll actually attain anything specific with this game, two possible ideas is to add SaveRAM support for the high score list and translate the pretty minimal amount of Japanese text on display to English. As you can see in the linked video, the intro and the level selector is in Japanese while in-game text is a mix of English and Japanese. When we were doing SFW we worked in secret mode until we knew we could do it. This time we just start pulling on some threads in public to see where we end up. No promises!
While we own a physical copy of the game and have dumped it ourselves we are not allowed to share the ROM and also not allowed to share the full source code for the ROM. Thus you, the reader, will only see some glimpses here and for the full picture (text really!) you will need to run snestistics on a ROM you’ve obtained yourself. Furthermore snestistics is constantly being updated/improved so the snippets shown here might not be fully accurate. We will try to update this tutorial series as snestistics changes so it remains correct.
Initial Inspection
Now let’s focus in on the parts of Battle Pinball we want to understand! An emulator with debugging features is an essential tool in this process. We’ll be using bsnes+ for this task.
As previously mentioned we thought it’d be fun to translate the little text there is, as well as add SRAM serialization of the High Score Table. A high quality translation usually means a pretty invasive rewriting of the text system, preferably including a so called Variable Width Font routine to render typographically pleasing text. For this game we won’t be so fancy, but look forward to the open source release of our Super Famicom Wars translation for more details on our take on that!
Title Screen
The first Japanese text appears on the title screen.
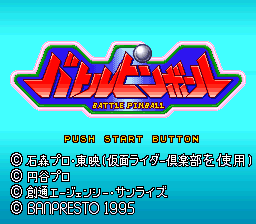
The logo is pretty neat as is with its English subtitle, so we probably won’t look into replacing that. The list of credited copyright holders could be nice to make legible for English players, though. Let’s see how its graphics are organized.
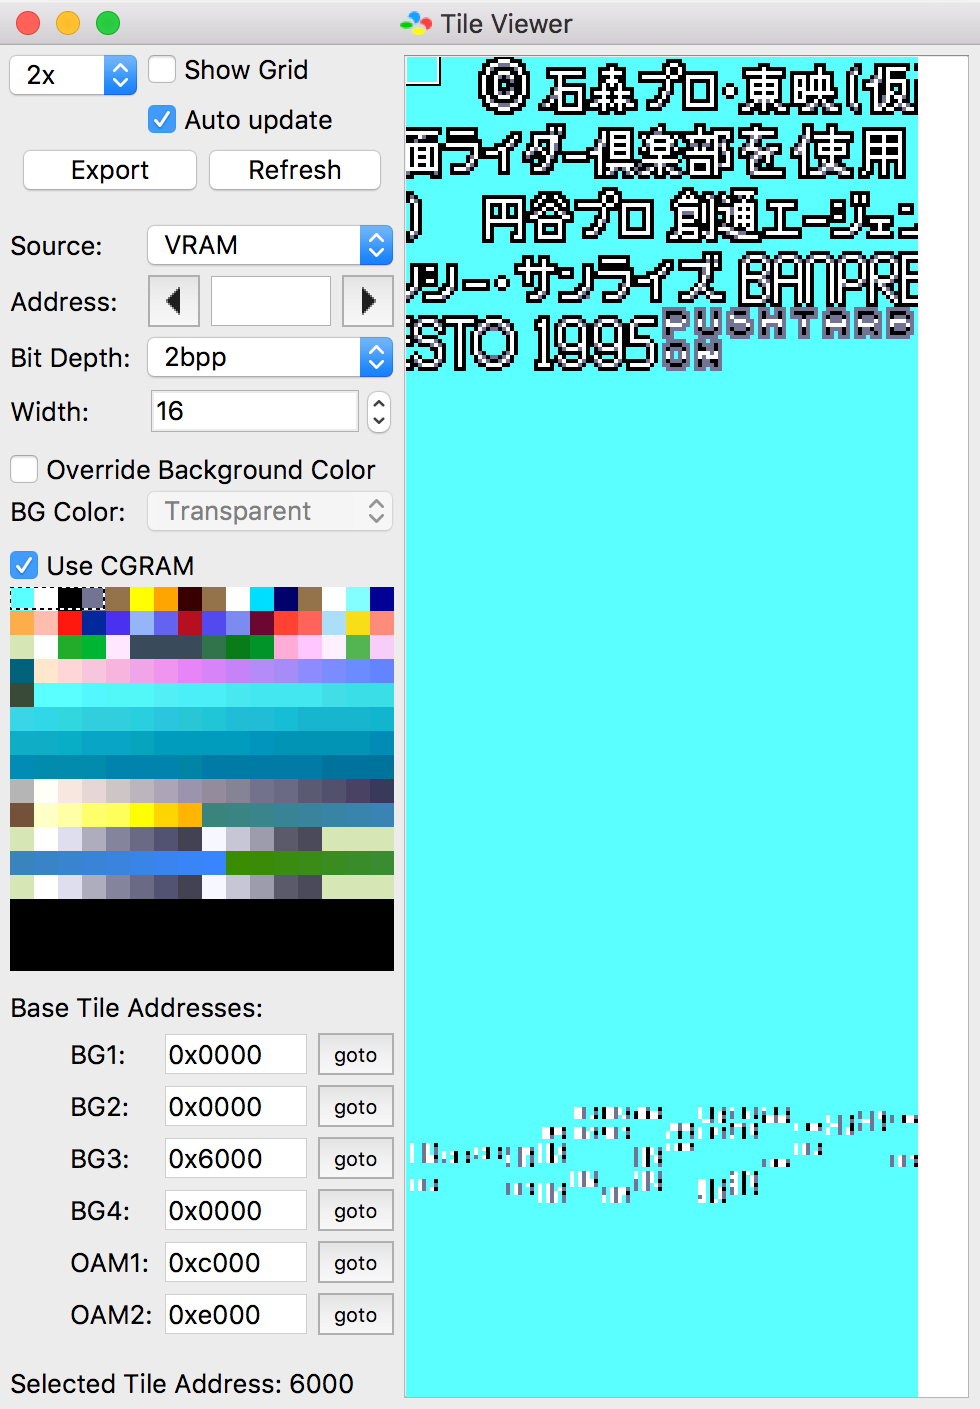
Using bsnes+’s Tile Viewer we can see that the credits are not rendered with a font, but instead are composed using “pre-baked” 2-bit tiles. So all hacking needed to change this screen is to find how those tiles get transferred to VRAM. If the data is compressed, which is the norm on SNES, we will need to either reverse engineer the compression algorithm or make up more space in ROM and store a modified tile set uncompressed.
In any case we can get back to this later when we’ve found some more interesting graphics to replace. Let’s continue!
Intro “Cut Scene”
Pressing START we arrive at a cut scene of sorts featuring a text writer.
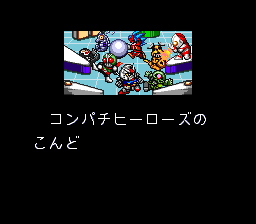
Taking a peek at the VRAM contents this time we discover that a 16x16 pixel font is used, featuring a Hiragana subset with some Katakana thrown in for good measure.
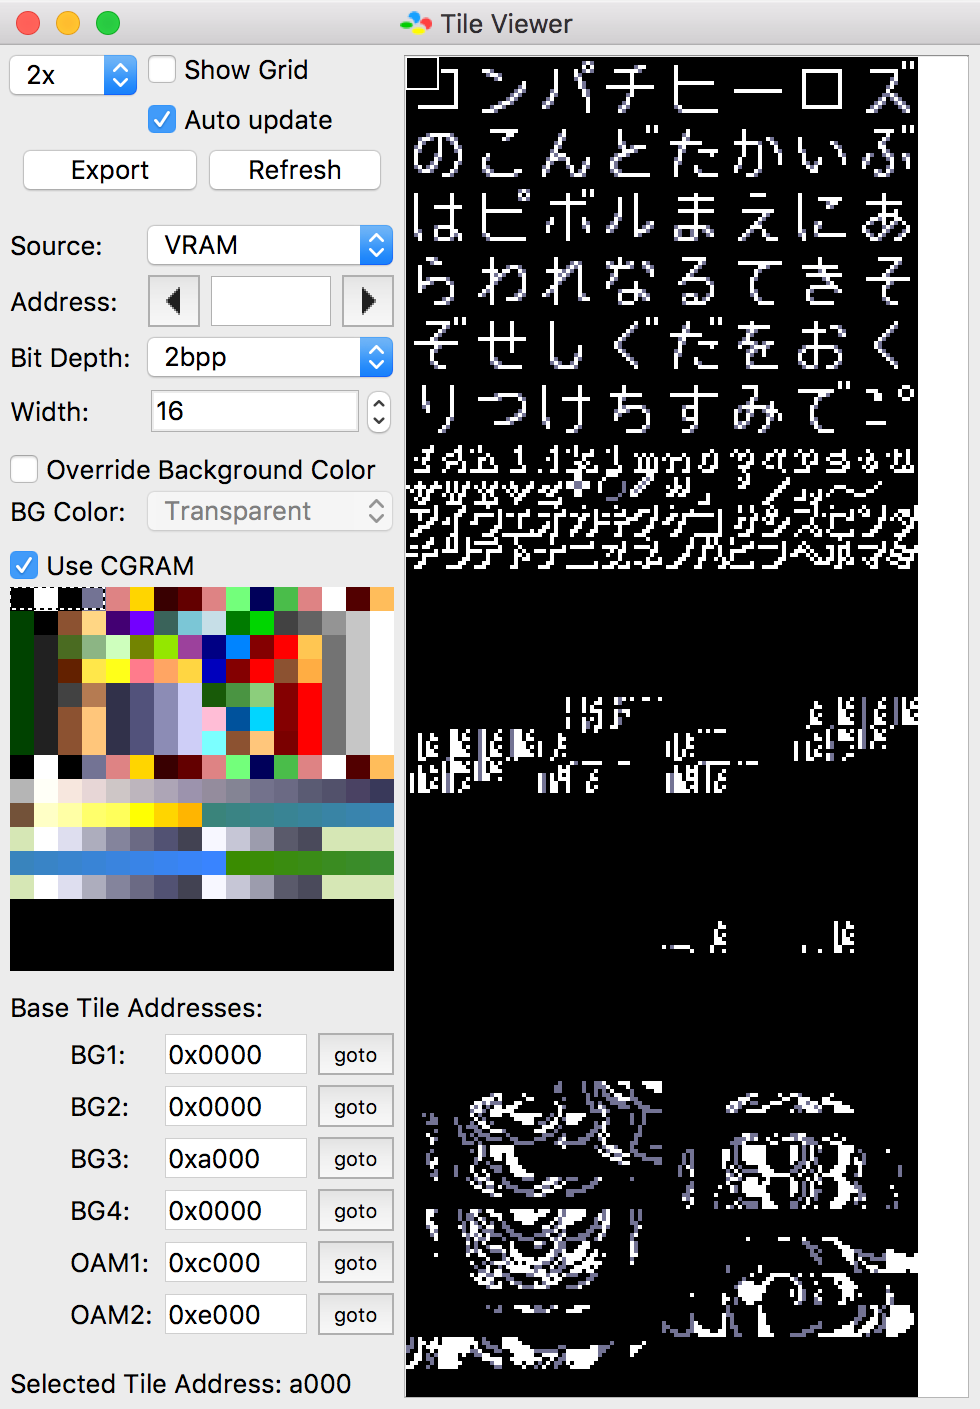
There’s only 48 glyphs available without increasing the number of tiles used. So we can either go for an ALL-CAPS latin replacement font, or we could try spilling over to what looks like the half-overwritten remains of an 8x8 pixel latin+katakana font. In any case the two tasks involved to translate this screen is:
- Replace the 16x16 pixel font with a custom latin one
- Reverse engineer the printing routines
Hacking text printing routines is essentially the heart of translation hacking, so let’s start with that!
Intro Text Printer
We already found out, via bsnes+’s excellent Tile Viewer, that the tiles used for the intro text are assigned to the 2-bit per pixel BG3 layer. The next logical step is to find out where in VRAM the tile map data is allocated, and then follow the trail from there.
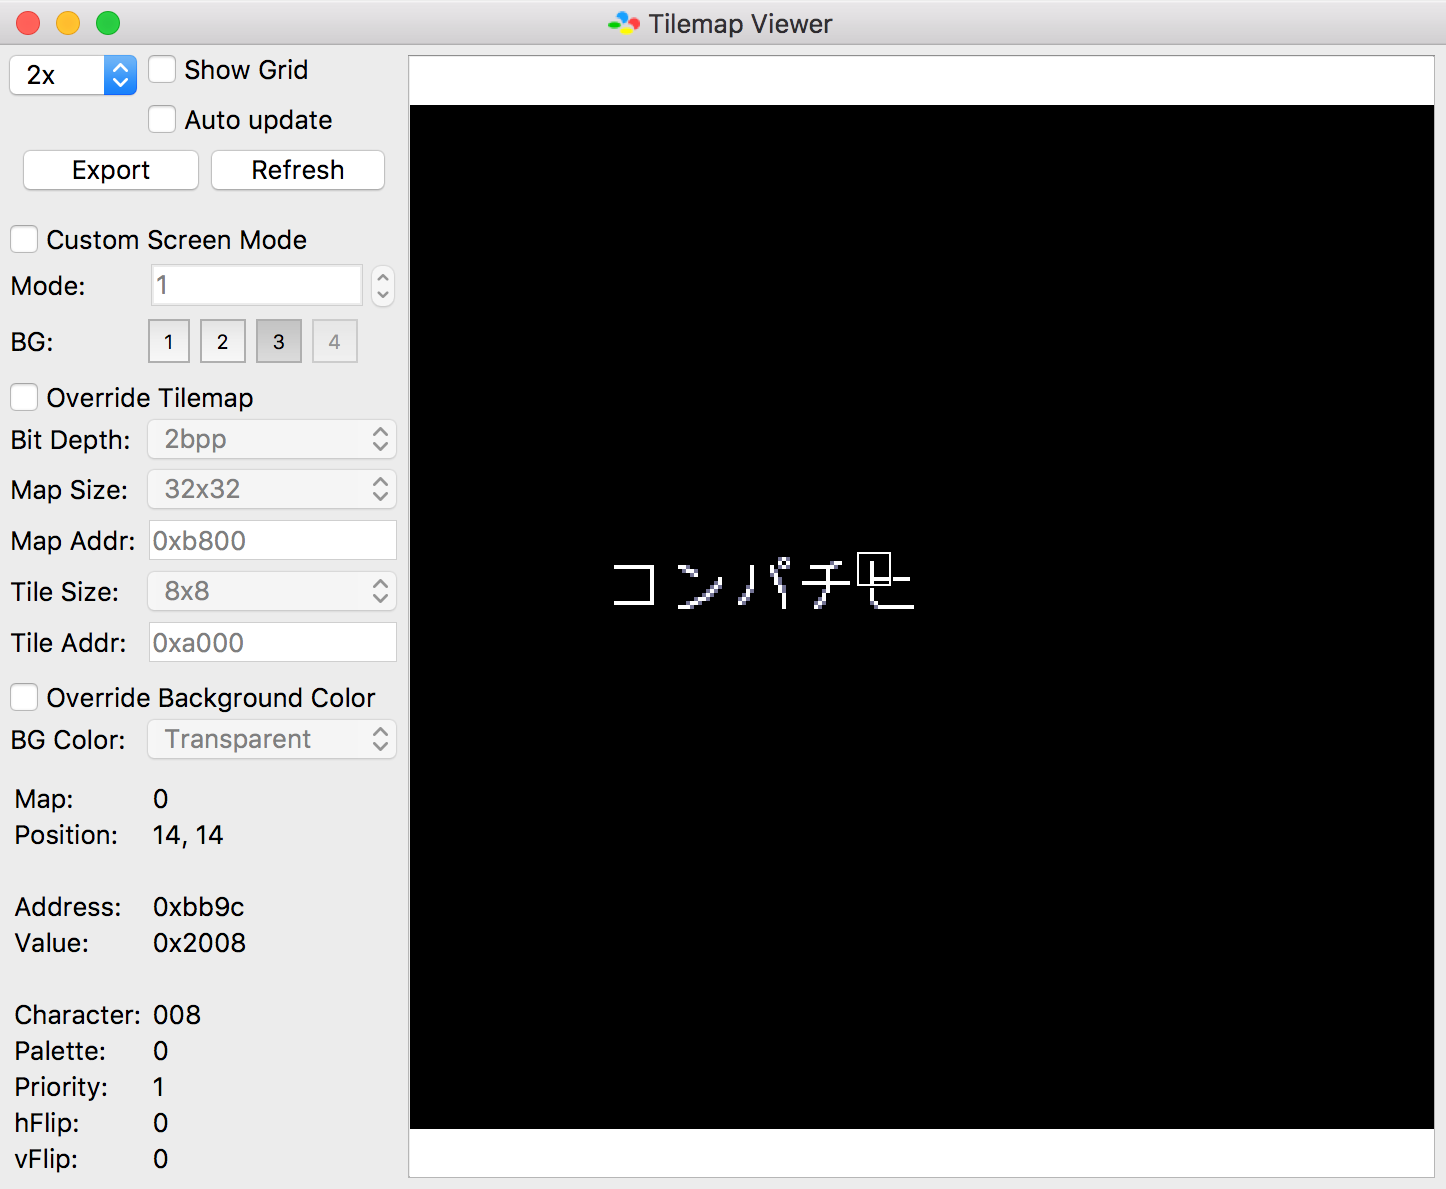
Opening the Tile Map viewer and switching it to view BG3 reveals that the map base address is 0xb800. We can also note that the programmers have opted to use 8x8 tiles instead of 16x16 tiles. In theory the latter option would also work and would be slightly more convenient, but then the 8 pixel space between lines of text would need to be accomplished with HDMA or IRQ trickery instead.
I’ve also selected the upper left tile of the 5th glyph, and the inspector panel reveals that the address for that tile in VRAM is 0xbb9c. Let’s put a breakpoint on the VRAM location for the next character to be printed (0xbba0) and resume execution, to find out how the character values get there!
Note: All VRAM locations are written as byte addresses.
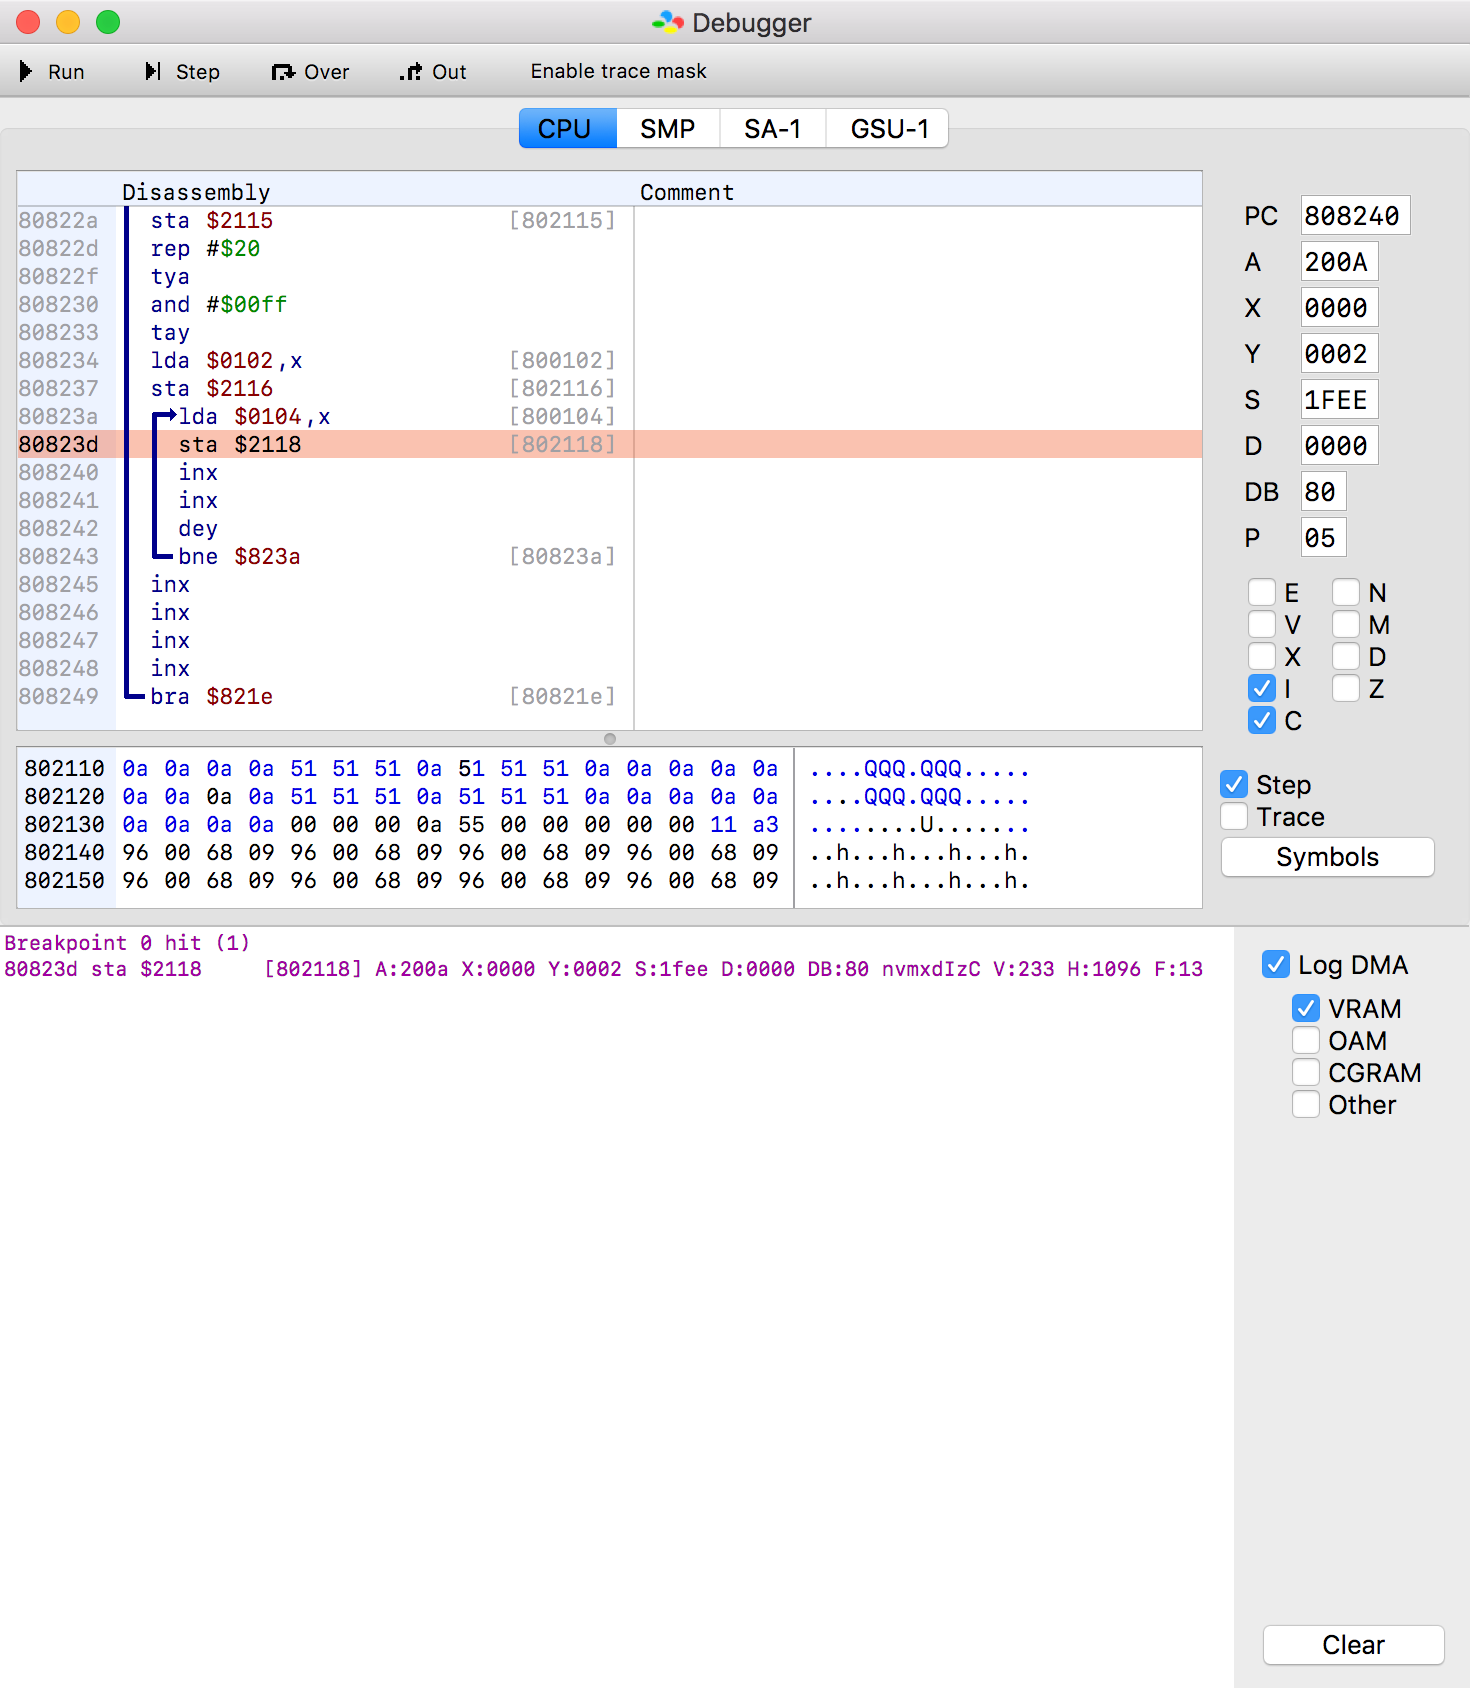
A-ha! Surprisingly DMA is not involved. Instead we discover a routine writing values to VRAM by directly banging register $2218, the VRAM data port. The little glimpse of code visible in the Disassembly view reveals that source data is located in RAM location $0104 indexed by X, and that the VRAM destination is stored just before the tile data at address $0102.
To get a better view of this routine and the code around it helps to have a nice assembly listing of the full game, something that snestistics can give us. Lets find out how in the next post.